Allerton Manor Golf Club is home to a first-class golf course. We welcome golfers from across the UK and around the world who wish to challenge themselves with our course.
Whether you’re just getting started or have been playing the game for years, you can expect a fun-filled day of golf for you and your friends, every time you play.
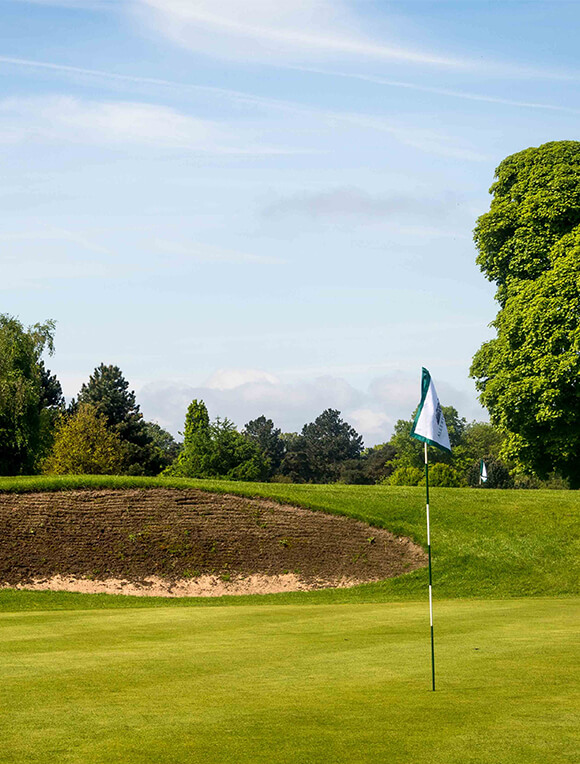
Located in the beautiful South Liverpool suburb of Allerton, there are plenty of reasons to take up a game at our prestigious course. Our green fees offer incredible value for money, as does membership to the Allerton Manor Golf Club. If you’re a member of a golf society, we provide society golf day packages for you and your group.
Whether you’re a club member, a day player, or part of a golf society, you can relax after your game with a refreshing drink at Fletcher’s Sports Bar & Beer Garden.
For more details regarding your golf options at Allerton Manor, click on one of the links below.
Bring your group together for a relaxed and memorable day on the course. Our golf days combine great golf, friendly competition, and excellent hospitality for an experience everyone will enjoy.
You can book a round of golf or a society golf day online and apply for membership the same way. If you have any queries or concerns about the club, its grounds, or its facilities, feel free to give us a call. You can reach us on 0151 428 7490 or golfsales@greencircleleisure.com and speak to a member of our friendly, helpful team.
At Allerton Manor Golf Club, our guests’ experiences speak for themselves. See what our guests have to say about their time with us and the memories they’ve made here.